Click here and save up to 45% on select lodging -->
Home
800-908-5000800-908-5000
By Melissa Szaro • Updated on 08/05/2025

How to Ski Uphill: Expert Techniques and Safety Tips

How to Ski Uphill: Expert Techniques and Safety Tips

There’s something deeply satisfying about uphill skiing (aka skinning or alpine touring)... Maybe it’s the steady rhythm of climbing under a pink sunrise, or the quiet swish of your skins across fresh snow, without the hustle and bustle of the crowds. You'll get worked in the best way possible, earn views that chairlift riders never see, and actually feel the mountain under your skis instead of just sliding down it. What started as training for backcountry skiers has become its own thing. Skinning isn't just how you get to the goods anymore; it is the goods.

If backcountry skiing has been on your radar, resort uphill access is your on-ramp. You can dial in your gear, figure out what kind of shape you're actually in and pick up safety habits without committing to the full send into the wilderness.

Maybe you're after those magic hour laps when the world belongs to just you and the mountain. Maybe you're training for something bigger. Maybe you just want to try something new. Whatever brings you to it, skinning opens doors you didn't know existed. But uphill skiing has its own code and etiquette, including proper gear, key techniques and ways to not be that person everyone else is talking about in the lodge. Here's how to get started without looking like a complete rookie with pro tips and tricks from our Mountain Travel Experts.

Related Reading: Resort Policies for Uphill Skiing
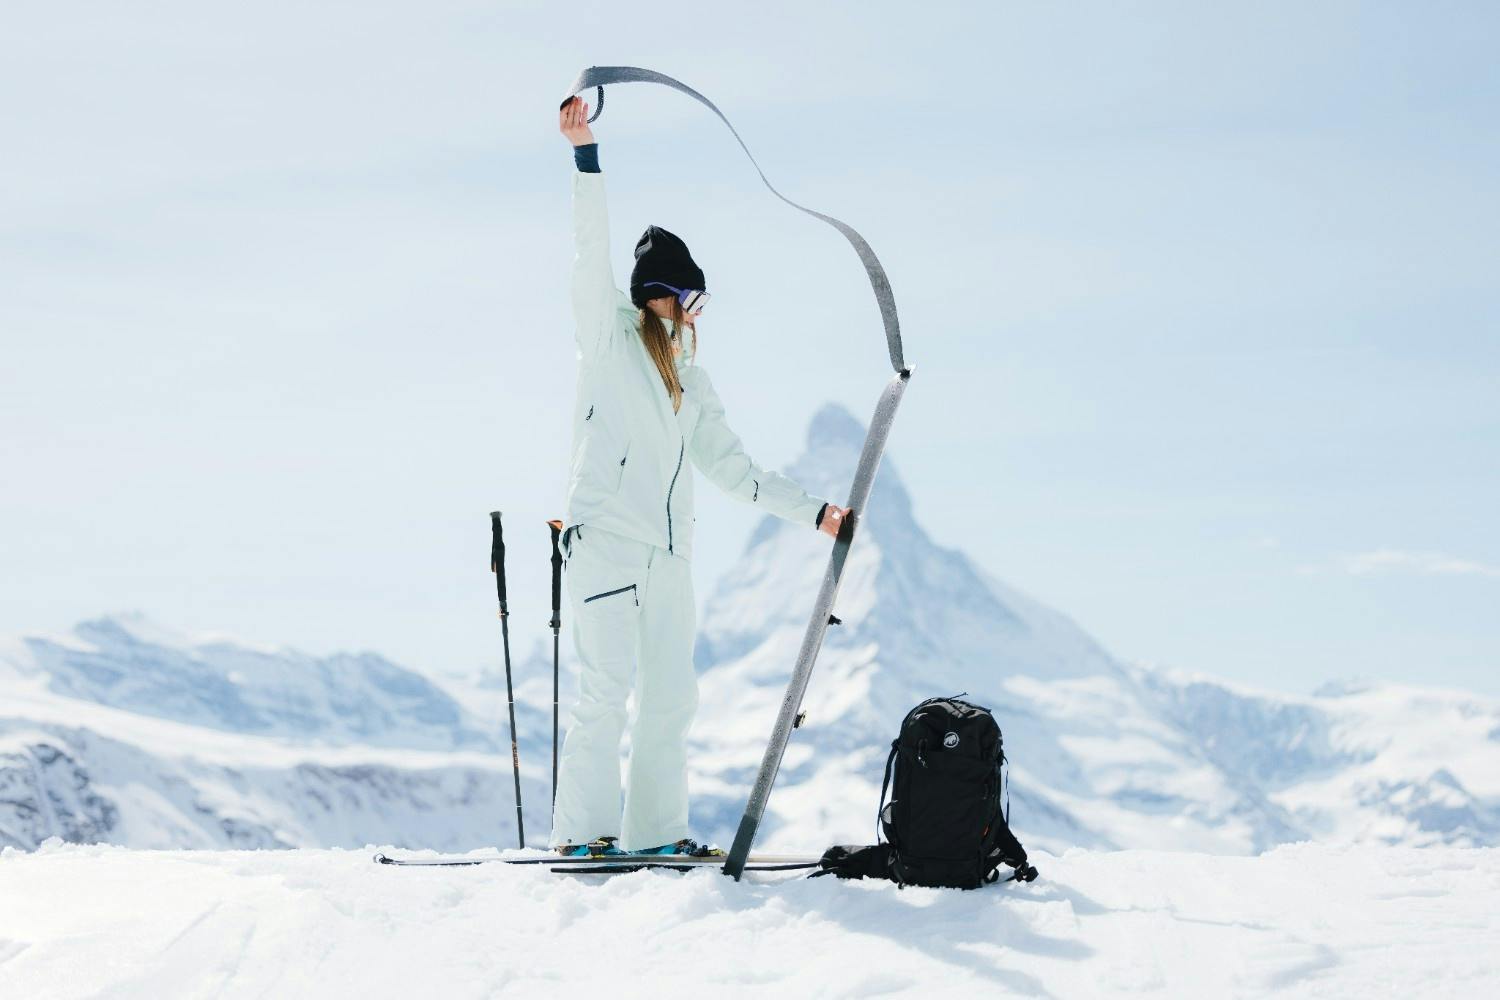
woman skier takes off the skins on her skis with her backpack nearby gearing up for backcountry skiingThe first step in backcountry skiing is learning how to put on and take off your climbing skins. l Photo: © Aleiko Studio

Gear for Uphill Skiing

When it comes to alpine touring, your everyday resort setup won’t cut it; you’ll need a whole new kit designed specifically for uphill travel. The learning curve isn't steep, but everything works a little differently than what you're used to. Touring boots have a walk mode that frees up your ankle for the climb, then click into ski mode when it's time to send it downhill. The bindings follow the same logic: heel up for skinning, heel locked for skiing. It's like having two different setups in one. 

Snowboarders use splitboards that do exactly what the name suggests – they split apart into two skis for the ascent, then snap back together into a regular board for the descent. It's honestly pretty brilliant engineering. The magic all comes together with climbing skins – thin strips that stick to your ski bases and grip the snow on every step up. They're what keep you from sliding backwards, and they peel off clean when it's time to drop in.
What Gear Do I Need?

  • Skinning skis or a splitboard
  • Alpine touring boots 
  • Touring bindings 
  • Climbing skins (cut to fit your skis or splitboard)
  • Adjustable poles (helpful for changing terrain)
  • Helmet (the same one you use for downhill works here!)
  • Layers for breathability and warmth
  • Optional but useful: headlamp for early laps, ski crampons for icy ascents, and a backpack for carrying layers, water, skins, snacks, etc.

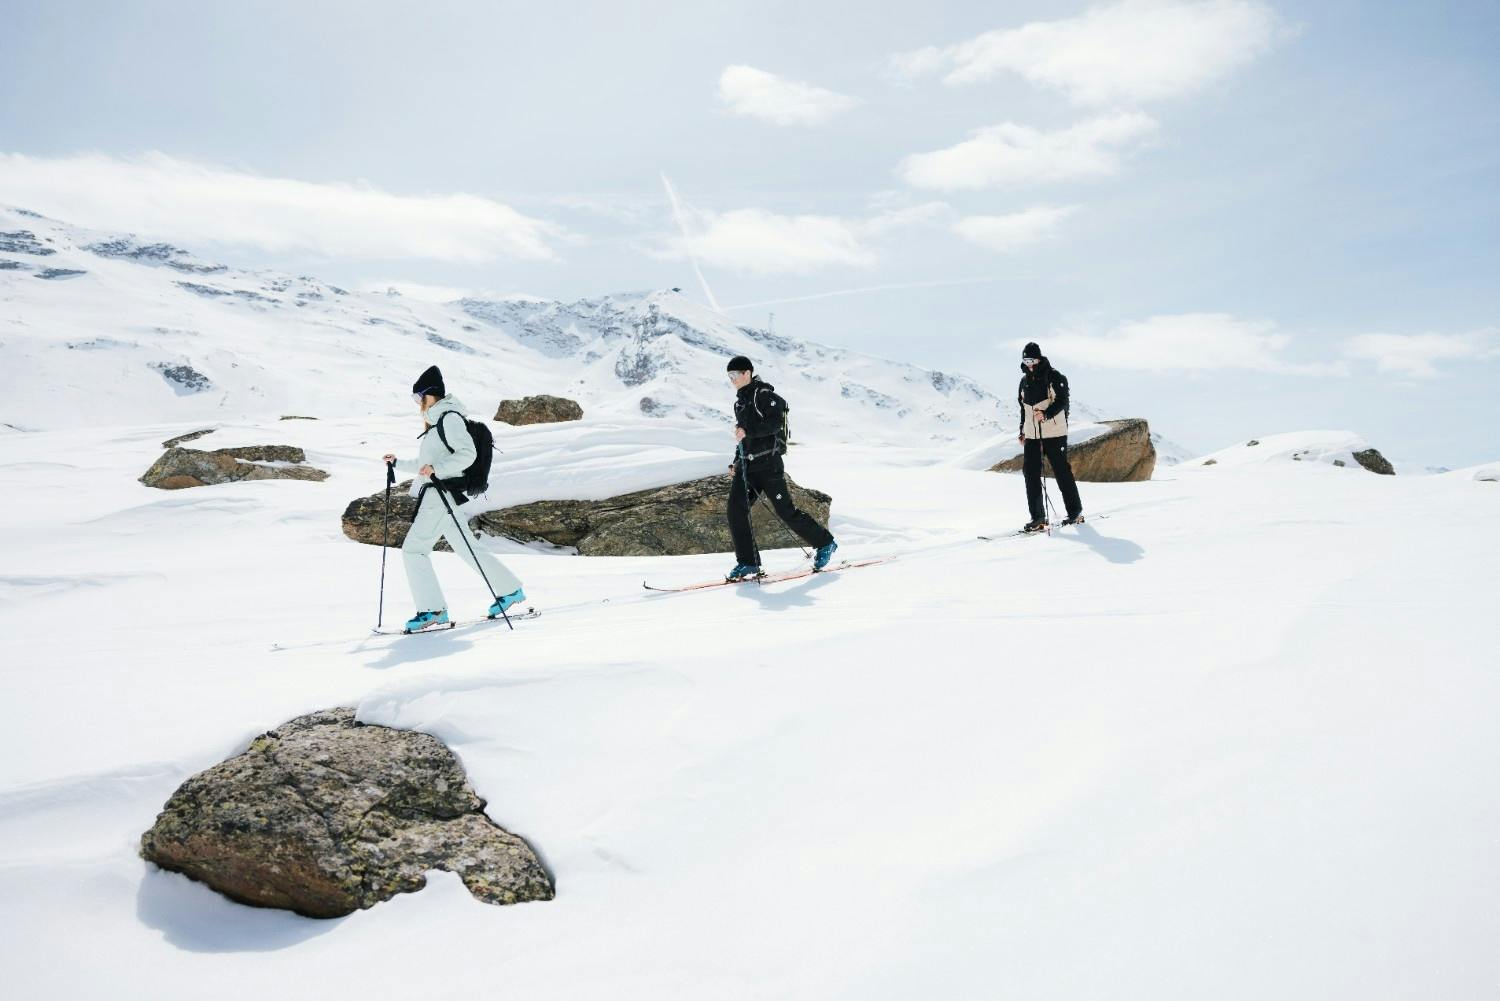
3 skiers in winter gear skinning uphill snowy backcountry terrainSkinning requires some new techniques, but once you master them you'll unlock a whole new terrain experience. l Photo: © Aleiko Studio

8 Expert Tips for Skinning Uphill

  1. Be bold, start cold: You’re guaranteed to work up a sweat while skinning! Take off your outer layer and put it in your backpack for later. (Rookie reminder: Make sure your touring boots are clicked into walk mode before you begin!)
  2. Maximize skin contact: Glide your skis uphill instead of lifting them with every step – lifting wastes energy and wears out your legs fast. Keep your skis in contact with the snow to get better grip from your skins. 
  3. Let your skis lead the way: For many newbies, the natural tendency is to push their way up the hill, but this technique is less productive. Instead, think of pulling your skis forward and letting them guide your movement uphill. At the end of each stride, press through your heel, then slide your toes forward, letting the ski glide along the snow. This pull-forward motion keeps your grip solid and helps you conserve energy on the climb.
  4. Posture makes perfect: Good posture isn't just for dinner with your in-laws; it’s key to cruising uphill like a pro. Stay upright and centered over your skis to keep things balanced and efficient. A microbend in the knees helps you roll with uneven terrain and keeps your weight right where it should be for solid traction. Lean too far forward and you'll lose grip; lean too far back and you’ll feel like you're skiing uphill in reverse. Stand tall, stay loose and let your body work smarter, not harder.
  5. Perfect your pole game: Your poles are your secret weapon for balance and flow on the uphill. Sync each pole plant with your stride to keep your rhythm smooth and steady. Adjustable poles are a game-changer for skinning; just be sure to shorten them on steeper climbs.
  6. Pace yourself like a pro: Skinning isn’t a sprint. One of the most common beginner mistakes is charging ahead at the same pace no matter the terrain. A long stride might feel faster, but it’ll burn you out quicker than you think. Instead, match your stride to the pitch of the hill, keep things smooth and controlled, and settle into a rhythm that lets you enjoy the climb and still have legs left for the ride down.
  7. Use heel risers strategically on steep climbs: When the slope gets steep, flip up your climbing risers (aka heel lifts) to give your heels a boost. This small adjustment reduces calf fatigue and makes each step feel smoother and more streamlined. Most touring bindings offer multiple riser heights, so play around to find what works best for you. Just remember that on mellow or flat terrain, keeping them up can actually make travel more awkward and tiring. Listen to your body, and adjust as needed for the most cruisy climb.
  8. Conquer the uphill kick turn: It might look awkward at first, but master your kick turns and you’ll feel like a skintrack ninja. They’re a must for tackling steep switchbacks, and they’ll seriously level up your backcountry game. Start by lifting your uphill ski and swinging it around to face your new direction. Then bring your downhill ski around to match, nice and smooth, with your balance dialed in. Pro tip: practice on mellow slopes first so you're not fumbling when the terrain gets spicy.

Uphill Skiing Etiquette – Don’t Be That Skier

Brush up on the rules of uphill skiing etiquette before you head out to keep your ski cred intact:
  • Stick to the route: If your resort has a designated uphill track (most do), use it. You’ll usually find route info on the resort’s website or at the base area. Always skin up the edge of open runs, not through the middle.

  • No postholing, please: Keep your skis (or splitboard) on. Bootpacking through a skin track not only trashes the trail, but it’s a serious hazard in avalanche terrain. If you need to hike, step off the trail and forge your own path.

  • Share the track: Uphillers always yield to downhill skiers – they have the right of way. And if a faster skinner is gaining on you from behind, step aside and let them pass. Think of it like the ski-touring version of the left lane on the interstate.

  • Stay seen: Rock bold colors or a headlamp in low light so you’re easy to spot, especially during early morning laps or low-visibility days.

  • Respect the rules: Resorts put uphill policies in place for a reason. Don’t duck ropes, poach closed areas, or ignore signage or ski patrol. 

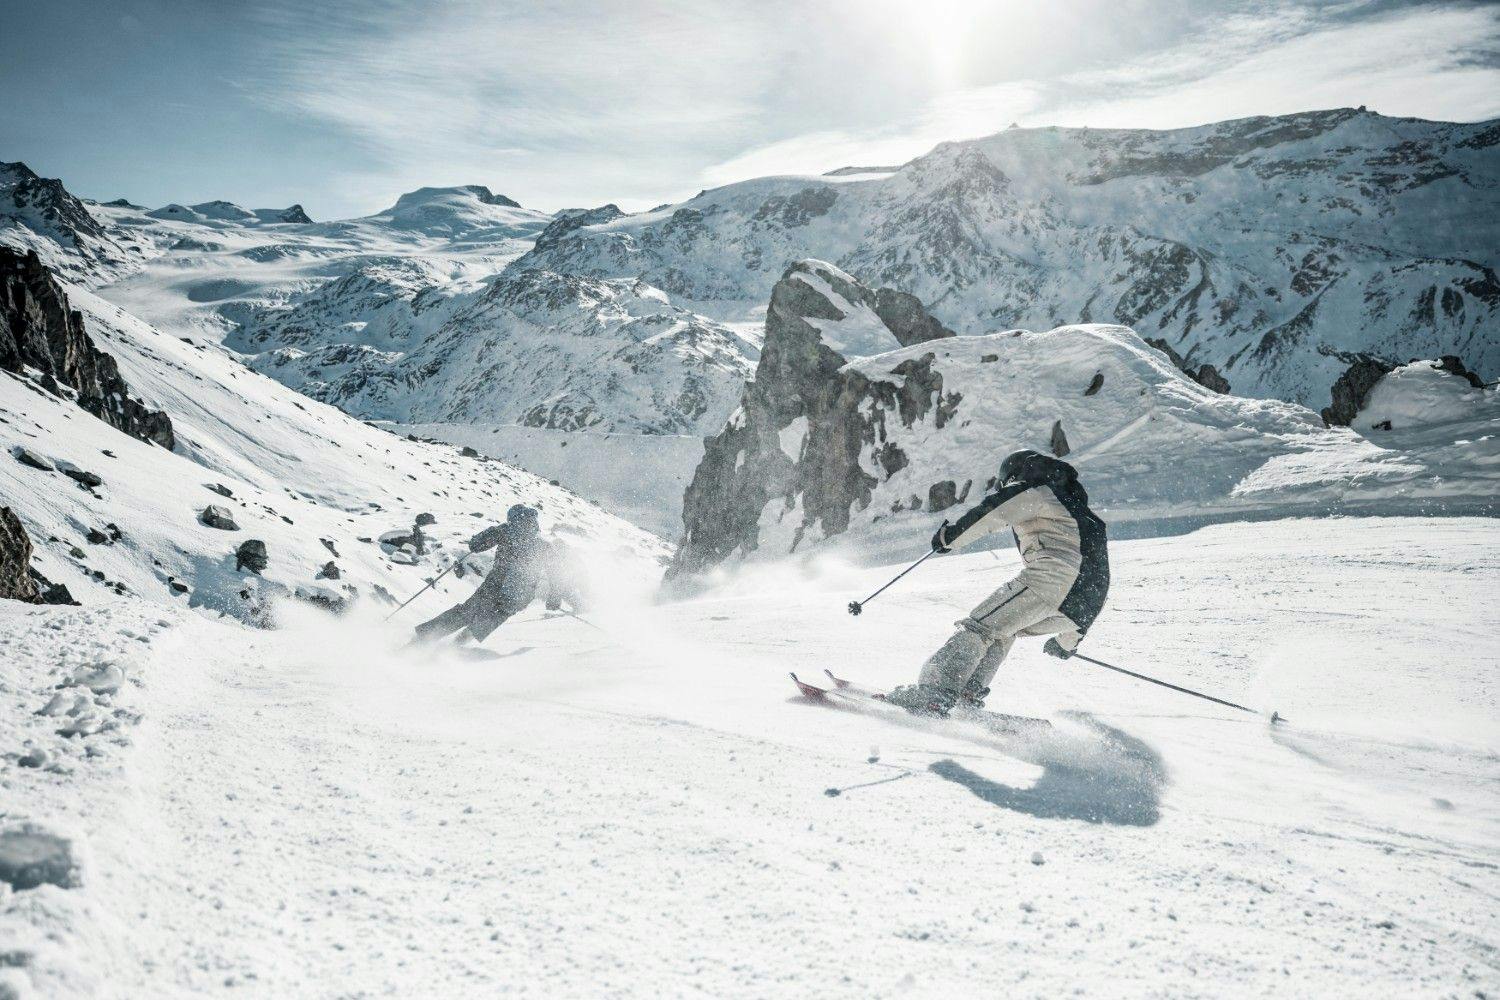
two skiers sending it down the snowy backcountry slopes on a bluebird dayAlpine touring opens up new sections of the mountain that many people don't get to see. l Photo: © Zermatt Tourism

Ask a Mountain Travel Expert


How Difficult is Uphill Skiing?

Uphill skiing isn’t technically hard, but it definitely makes you work for it. It’s kind of like hiking on skis, with a bit of technique and a lot of leg burn. To prepare for uphill skiing, work on strengthening your core and leg muscles, endurance, balance and flexibility (for kick turns). The first few laps might feel rough (especially if you charge too fast or forget to pace yourself), but once you get the rhythm down, it’s surprisingly fun and empowering. Plus, there’s nothing like getting to the top your own way, no lift line required.

Related Reading: How to Get (and Stay) in Shape for Ski Season

What Resorts Offer Uphill Skiing?

Uphill skiing is catching on fast, and more resorts are jumping on board, but not all of them have opened the skin track just yet. To find out if uphill travel is allowed, head to the resort’s website and look for their uphill policy. If it is permitted, don’t skip the fine print; most resorts have specific uphill routes, rules, designated hours and sometimes a small uphill pass or waiver.

Related Reading: Resorts Offering Uphill Skiing & Their Policies

Are Uphill Gear Rentals a Thing?

Ready to discover what it really means to earn your turns? Some resorts now rent uphill skiing gear so you can test it out before you commit to buying the whole setup. A few of our favorite spots include Four Mountain Sports at Aspen Snowmass and Stratton Mountain Resort, both of which make it easy to dip a toe into the skin track scene.


Want to know which resorts rent gear or have the best uphill access? Our Mountain Travel Experts are here to help with all the details, from rental info to uphill-friendly lodging and more. Click here to get started with a free quote and we’ll help you plan the ultimate ski trip: skins, stoke, and all. 

TAGGED: uphill skiing, alpine
Melissa Szaro

Author

    Ready to start planning?

    Latest blogs

    View All

    How Our Free White (Ski) Glove Service Works: 

    Step 1
    Connect With a Mountain Travel Expert

    Reach out to a Ski.com Mountain Travel Expert by phone, chat, or our online form. Share details about your group size, interests, and budget and your Expert will begin to craft your dream ski vacation.

    Step 2
    Receive a Trip Proposal 

    Get a curated proposal with personalized suggestions from your Expert via email. Book directly online or request additions or revisions from your Expert until it’s perfect.

    Step 3
    Travel with Support

    If you have questions, want to add or modify your reservations or need anything assistance, your Expert is always by your side to help before, during and after your trip. 

    Get Free Trip Planning Help

    Sign up for our newsletter

    Sign up for exclusive offers, news, updates and more.